Here’s an overview of key standards and concepts for metal part surface roughness.
- Core Standards Organizations:
ISO (International Organization for Standardization): The primary global source.
ISO 21920-1:2021: Geometrical product specifications (GPS) — Surface texture: Profile — Part 1: Indication of surface texture in technical product documentation (Replaces ISO 1302:2002). This is the fundamental standard for specifying roughness symbols, parameters, and rules on drawings.
ISO 4287:1997: Geometrical Product Specifications (GPS) — Surface texture: Profile method — Terms, definitions, and surface texture parameters. Defines parameters like Ra, Rz, Rq, etc.
ISO 4288:1996: Geometrical Product Specifications (GPS) — Surface texture: Profile method — Rules and procedures for the assessment of surface texture. Specifies measurement rules (e.g., cutoff lengths, evaluation lengths).
ASME (American Society of Mechanical Engineers):
ASME B46.1-2019: Surface Texture (Surface Roughness, Waviness, and Lay). The main US standard, highly aligned with ISO but with some historical differences in symbology and parameter emphasis. Widely used in North America.
ANSI (American National Standards Institute): Often adopts ASME standards.
JIS (Japanese Industrial Standards): E.g., JIS B 0601. Similar concepts to ISO/ASME.
- Key Surface Roughness Parameters (Defined in ISO 4287 & ASME B46.1):
Arithmetical Mean Roughness (Ra / CLA / AA): The most common parameter. It’s the arithmetic average of the absolute deviations of the roughness profile from the mean line over the evaluation length. Example: Ra 1.6 µm.
Maximum Height of the Profile (Rz / DIN Rz / ISO Rz): The average of the absolute values of the heights of five highest peaks and the depths of five deepest valleys within the sampling length. Different from the older “Ten-Point Height” (also sometimes called Rz). Crucial for sealing, fatigue, and wear.
Maximum Peak-to-Valley Height (Rt, Rmax): The vertical distance between the highest peak and the deepest valley within the entire evaluation length (Rt) or within a single sampling length (Rmax). Indicates extreme variations.
Root Mean Square Roughness (Rq / RMS): The root mean square average of the profile deviations from the mean line. Mathematically more significant than Ra, but Ra is more universally used for specification.
- Specifying Roughness on Drawings (ISO 21920-1 / ASME Y14.36):
Uses a standardized surface texture symbol (checkmark-like symbol).
Information is added around the symbol:
Production Method/Allowance: (Optional) E.g., “M” for machining, “E” for removal not permitted.
Surface Roughness Parameter & Value: The primary specification (e.g., Ra 0.8).
Machining Allowance: (Optional) Material to be removed if needed.
Sampling Length/Cutoff (lc) or Evaluation Length (ln): (Optional, defaults apply) e.g., -0.8 implies a default cutoff based on Ra value.
Lay (Direction of Texture): (Optional) Symbol indicating pattern direction (e.g., parallel, perpendicular, circular, radial, multidirectional). Defined in ISO 1302/21920 and ASME Y14.36.
Other Parameters: (Optional) Secondary requirements like Rz 6.3 or Rmax 10.
- Measurement Methods:
Contact Profilometry (Stylus Instruments): A diamond-tipped stylus traces the surface. Measures Ra, Rz, Rq, Rt, etc., directly. The most common and standardized method.
Non-Contact Profilometry: Uses light (optical interferometry, confocal microscopy) or electrons. Good for delicate surfaces, faster area scans, but calibration and standards are still evolving compared to stylus.
Surface Roughness Comparators: Physical samples with known Ra values. Used for quick visual/tactile comparison on the shop floor. Less precise but practical. Standards exist for comparator manufacture (e.g., ISO 8503 for blast-cleaned steel).
- Typical Roughness Ranges by Process:
Fine Finishes (Ra < 0.8 µm / 32 µin): Precision grinding, honing, lapping, polishing, superfinishing. (Mirror finishes ~ <0.05 µm Ra).
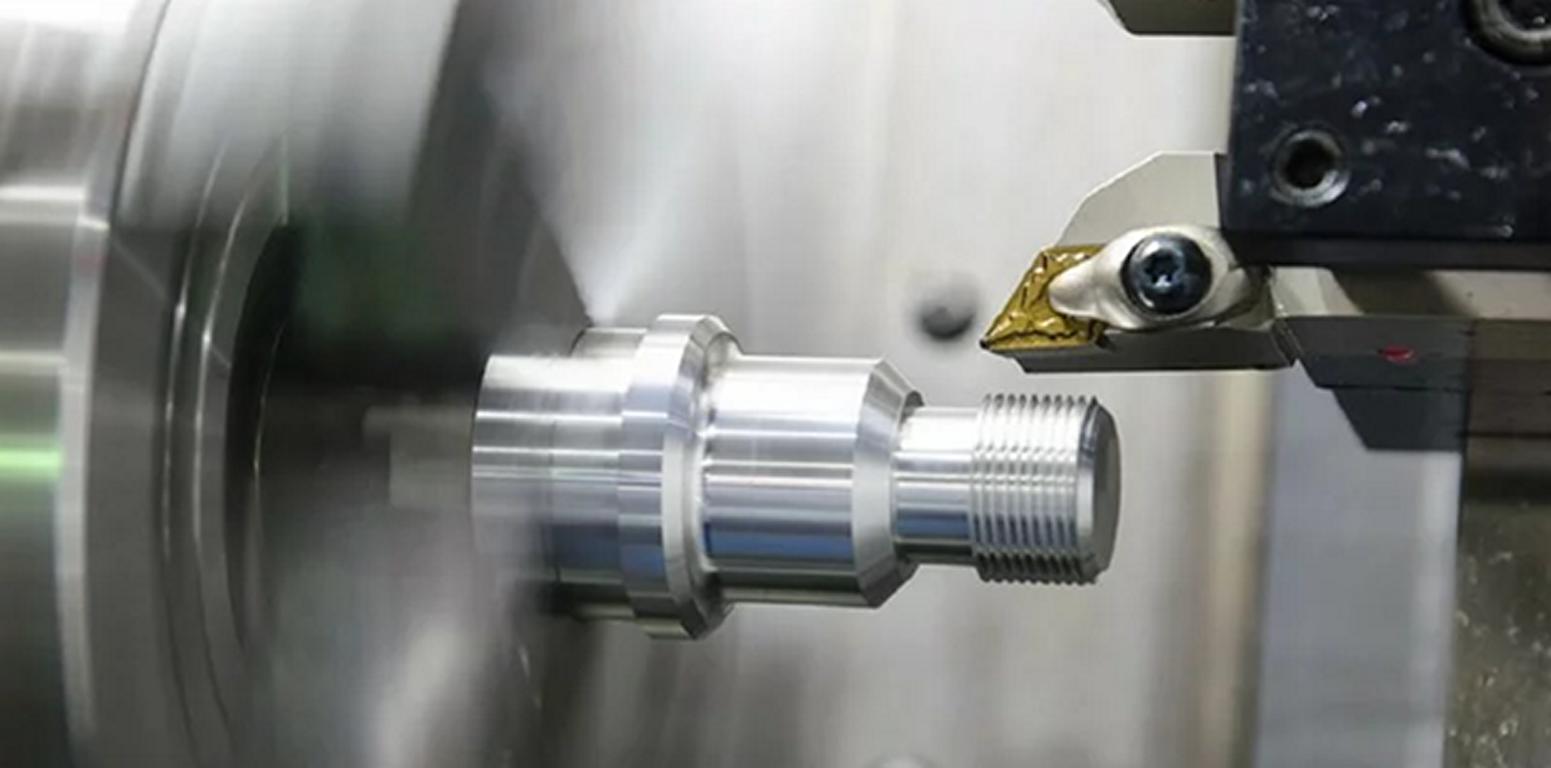
Medium Finishes (Ra 0.8 – 6.3 µm / 32 – 250 µin): Turning, milling, reaming, broaching, die casting (good), investment casting (good), grinding (standard).
Coarse Finishes (Ra > 6.3 µm / > 250 µin): Sand casting, forging, sawing, flame cutting, EDM (rough). (Very rough castings/surfaces > 25 µm Ra).
- Important Considerations:
“Finish” Names are Non-Standard: Terms like “Mirror,” “#4 Finish,” “Mill Finish” lack universal definition. Always specify the actual parameter (e.g., Ra) and value.
Grit Size ≠ Roughness Value: While related, grit size (e.g., of sandpaper or abrasive belts) does not directly equal a specific Ra. Conversion charts exist but are approximate guides based on process/material.
Function Dictates Requirement: Choose roughness based on function:
Low Friction/Wear: Very fine (low Ra).
Sealing: Often requires low Ra and controlled Rz/Rmax.
Lubricant Retention: Needs some texture (not too fine).
Painting/Coating Adhesion: Needs sufficient “tooth” (often medium Ra).
Fatigue Strength: Smoother is generally better (reduces stress risers).
Cost: Achieving lower Ra values significantly increases manufacturing time and cost. Specify only what is functionally necessary.
In summary: Specify metal surface roughness using the ISO 21920-1 or ASME B46.1 standards. Clearly indicate the primary parameter (usually Ra) and its value using the standardized surface texture symbol on your drawing. Understand the relationship between manufacturing processes and achievable roughness ranges, and always base requirements on the functional needs of the part.


