
Listed and discussed below is the step-by-step process of investment casting:
1. Create and Assemble the Wax Patterns
There are three basic routes to delivering the precision wax patterns that are the starting point for investment casting. For decorative items and one-off products such as jewelry or technical items for which precision is a lower priority, it is common to hand carve the wax master to the desired dimensions/shape. This starts with either assembling preformed wax shapes to form the part or extracting the part from a solid block by cutting or melting locally. For mass-produced items that will be investment cast in relatively large volumes, it is generally preferred to build a steel tool that forms a wax casting cavity. A more recent development has been the ability to 3D print (rapid prototype) relatively small wax parts, to allow volume production without the cost of a wax casting tool. This is particularly useful in iterative development, allowing multiple generations of small changes to be trailed without huge cost.
2. Mount the Wax Patterns
Attach a feeder structure consisting of a sprue and channel to the part to allow the fill to be successful. Attach the part and feeder structure to a casting board that forms the structure to allow the flask (the completed cast tool) to stand securely. Any areas that are liable to vent poorly require air passage features to be added. Where multiple parts are to be cast in one pour, these structures are best established as individual cavities/galleries. Feed them from a single sprue/pour point. Care and experience are required in enabling effective fill when the gallery structure or part geometry is more complex.
3. Make a Mold Shell
A first immersion in the correctly formulated slurry will coat the surfaces of the pattern/sprue/support structure. Once the assembly is coated, it can be withdrawn and allowed to drip. Once drained, apply a layer of stucco—dry powder sprinkled all over to stabilize the first layer. Repeat the dip/drain/stucco steps until sufficient thickness is developed all over. The rest/drying time between layers can be several hours, to allow sufficient drying and stabilization for each layer. Set aside to completely dry, giving this enough time for the coating to become firm and rigid.
4. Remove the Wax
Bake the completed and dried flask to remove the wax and fully integrate the refractory coating. The supplier-recommended temperatures and durations for this stage are dependent on the type of material such as: water glass, clay, and silica. At the end of this baking process, the mold or flask will be fully fused into a single, strong body. The wax will have been fully volatilized or burned off. The cavity or cavities, sprue, and galleries will be clear and open. The support structure of investment and braces will be able to support the structure, ready to fill.
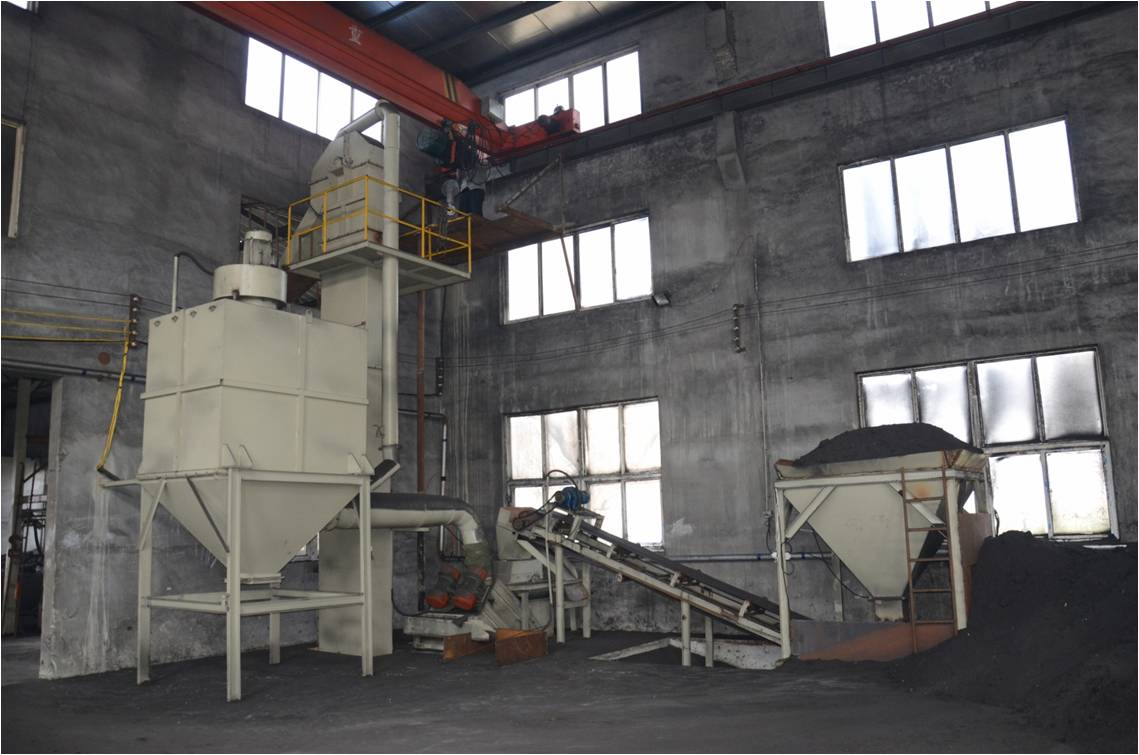
5. Melt and Cast the Metal
Lift the crucible with tongs and pour the contents into the upper opening to the sprue. Fill/charging should continue until the entire structure is full. This is usually confirmed by the visible presence of molten metal in the upper vents, showing good flow through.
6. Finalize the Castings
When the cast has cooled, break away the refractory material without distorting the newly cast metal. In some cases, such as for simple and robust castings in stainless steel and bronze, this can be a vigorous and rapid process. Where more delicate features and softer metals such as gold and silver are present, much greater care must be taken.
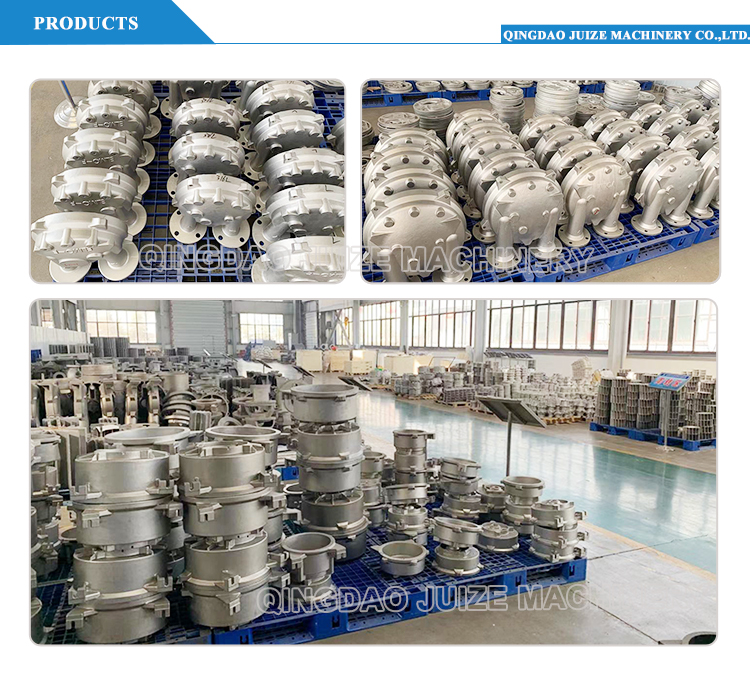
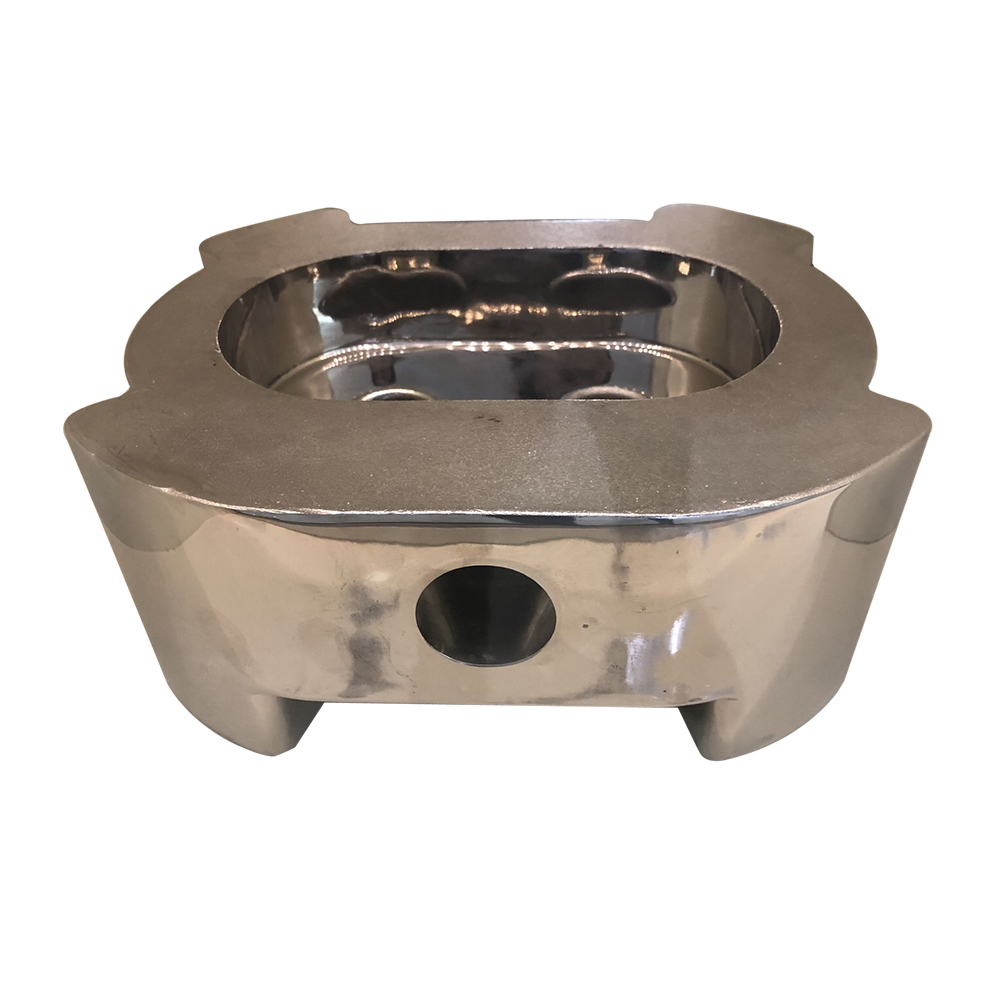
The removal of cast material from sprue, vents, and supports will damage the desired casting. Any cosmetic damage can be repaired using die grinding, sawing, and clipping followed by surface restoration by sanding and polishing as required.