The process of rapid prototyping for steel castings involves multiple carefully controlled stages, from initial design evaluation to final prototype inspection. Unlike traditional product development methods that may require long preparation cycles, rapid prototyping focuses on creating a faster connection between digital design concepts and physical steel components.
A successful prototype development process requires cooperation between engineering teams and casting specialists. By evaluating design feasibility, selecting suitable manufacturing methods, and performing necessary inspections, manufacturers can ensure that prototype steel castings provide valuable information before moving into production.
Step 1: Design Review and Engineering Analysis
The first stage of rapid prototyping for steel castings begins with a detailed review of the component design. Engineers analyze customer drawings, 3D CAD models, material requirements, and application conditions to determine whether the design is suitable for casting.
During this stage, manufacturers evaluate important factors such as:
Component geometry
Wall thickness distribution
Draft requirements
Machining allowances
Potential casting challenges
Engineering analysis helps identify possible issues before prototype production begins. For example, complex structures may require adjustments to improve metal flow, reduce shrinkage risks, or improve overall casting quality.
Early design evaluation is valuable because modifications at the prototype stage are usually faster and more cost-effective than changes after production tooling has been completed.
Step 2: Prototype Pattern Production
After design approval, the next stage is creating the pattern or prototype model required for steel casting production.
Depending on project requirements, manufacturers may use different methods, including:
3D printed patterns
CNC machined patterns
Rapid tooling solutions
For investment casting applications, 3D printed patterns are often used because they can be produced quickly from digital models without requiring traditional tooling.
This flexibility makes rapid prototyping for steel castings especially suitable for customized components, new product development, and low-volume production projects.
Step 3: Steel Casting Production
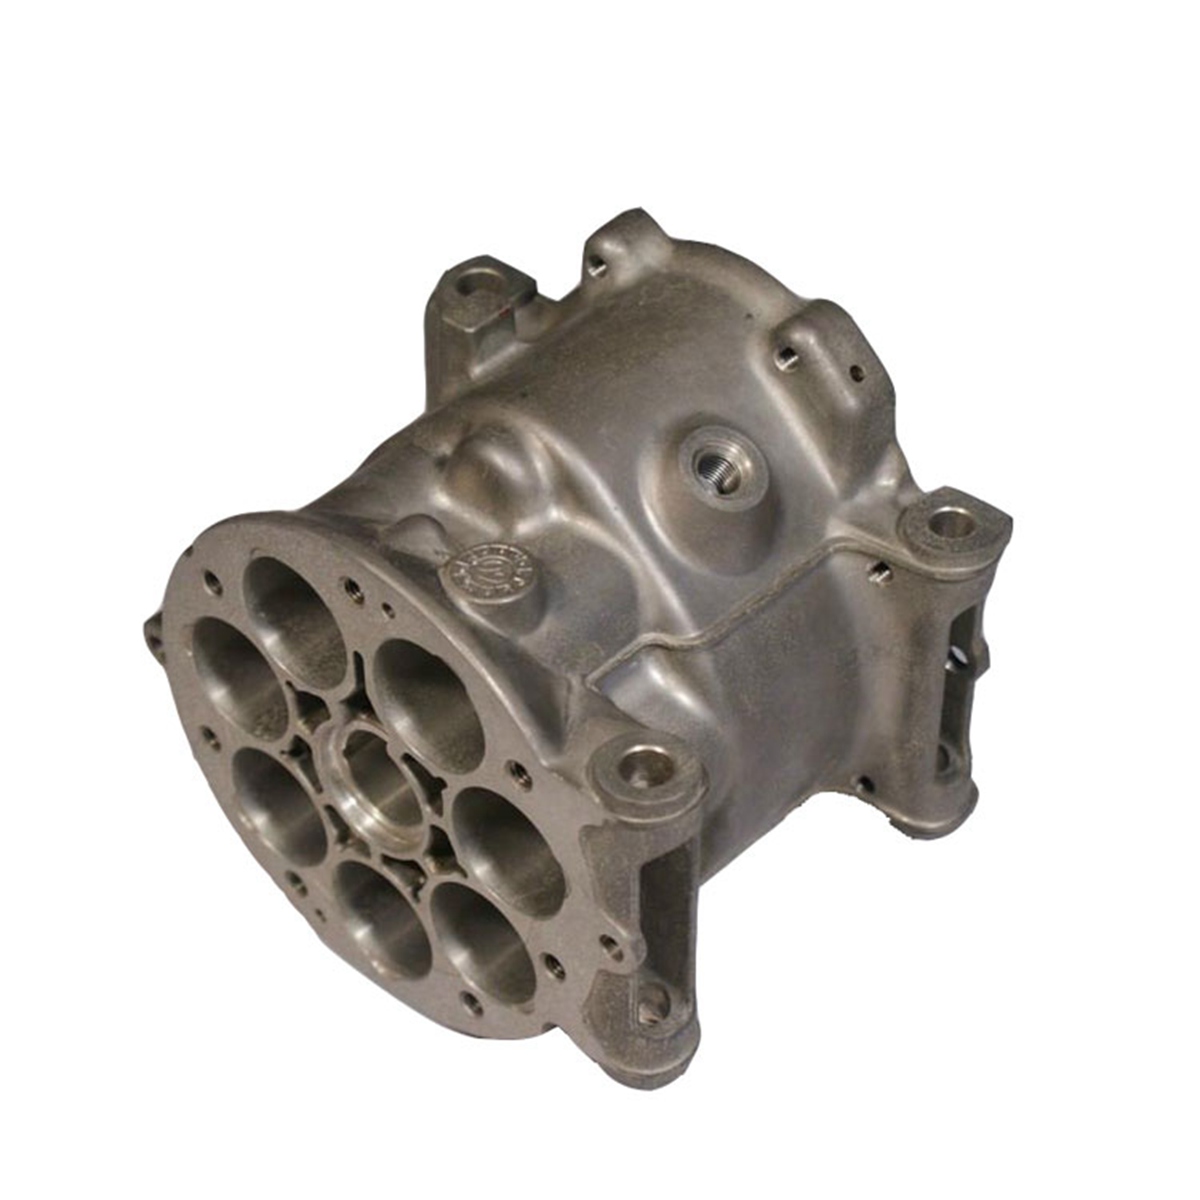
Once the prototype pattern is prepared, the casting process begins. The pattern is used to create the mold, and molten steel is poured into the mold cavity to form the required component.
During this stage, manufacturers carefully control:
Steel alloy composition
Melting temperature
Pouring conditions
Solidification process
Proper process control is essential because steel casting performance depends heavily on material quality and manufacturing stability.
For rapid prototyping for steel castings, the goal is not only to create a physical sample but also to produce a prototype that accurately represents the expected production component.
Step 4: Finishing and Machining
After casting, prototype components usually require finishing operations to achieve the required specifications.
Common finishing processes include:
Surface cleaning
Grinding
Heat treatment
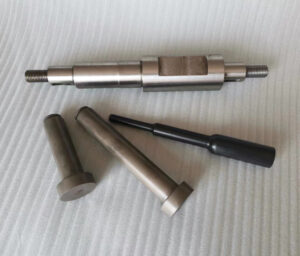
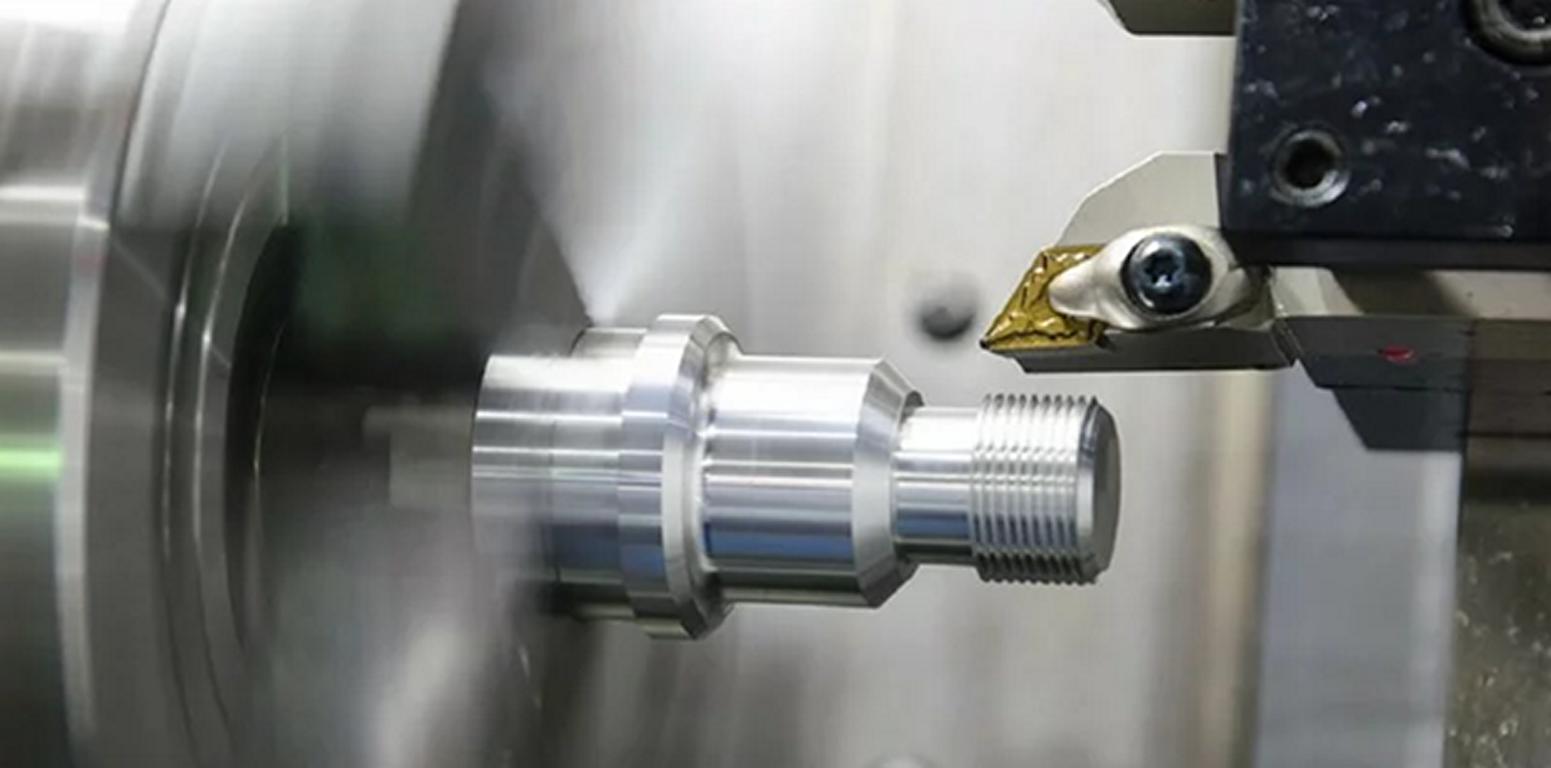
CNC machining
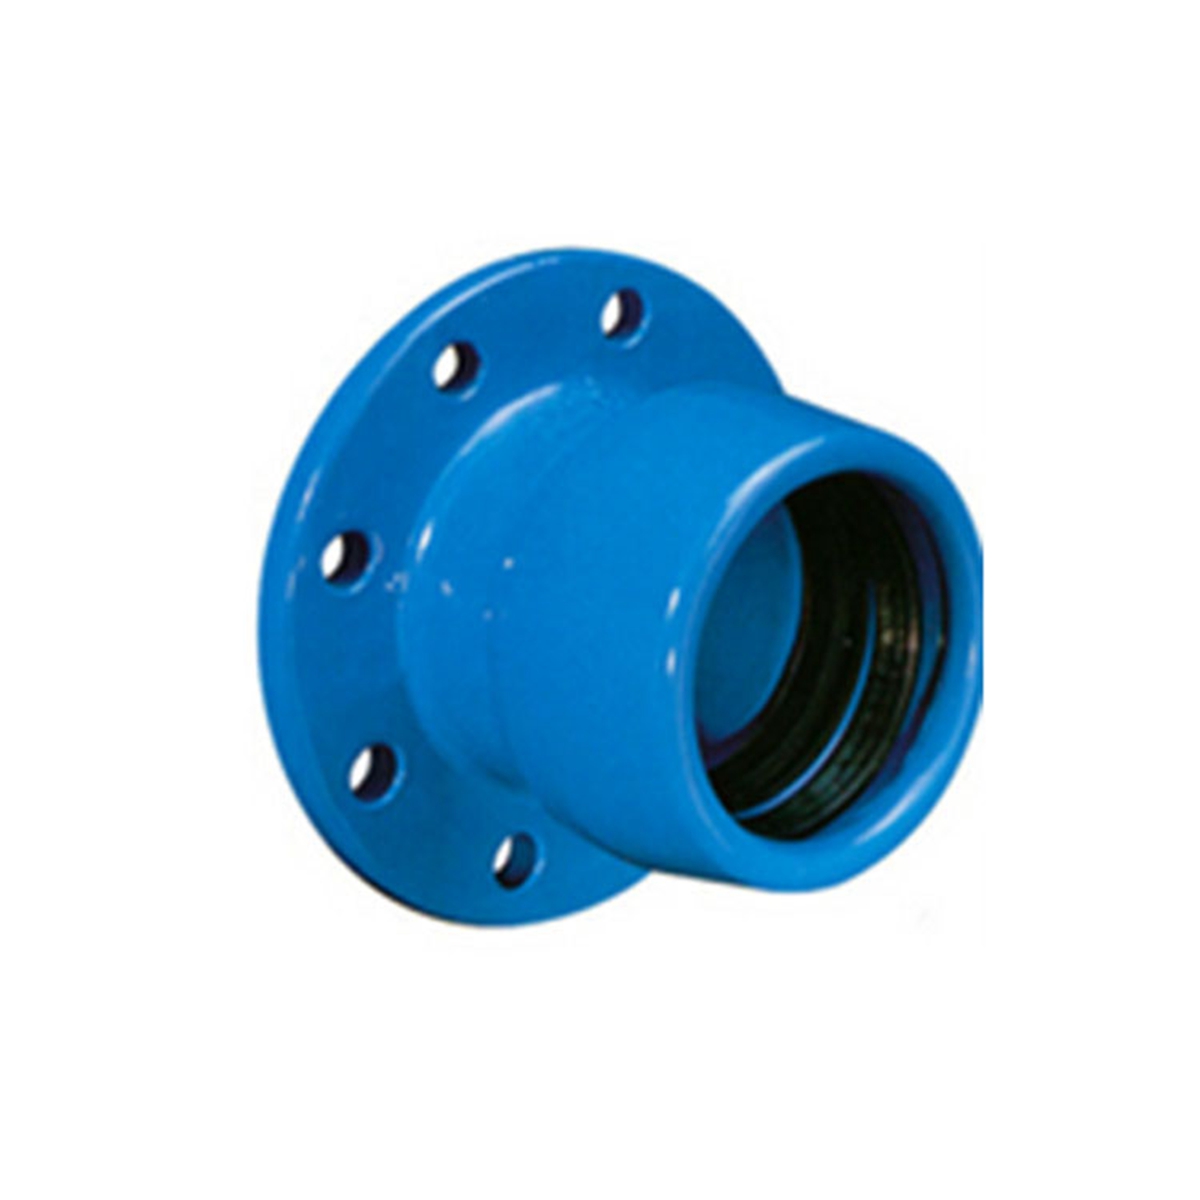
Surface treatment
Machining is especially important when prototype components require precise assembly dimensions or functional testing.
Through finishing and machining, manufacturers can transform initial castings into fully functional prototype parts suitable for evaluation.
Step 5: Inspection and Performance Evaluation
The final stage of rapid prototyping for steel castings is inspection and evaluation. Prototype components are tested to confirm whether they meet design requirements and expected performance standards.
Inspection methods may include:
Dimensional measurement
Material testing
Surface inspection
Non-destructive testing
Functional testing
These inspection results provide valuable feedback for improving the final production design.