Hopefully, now you have a better idea about what the LFC process is. However, for a deep understanding, here I’m going to discuss its step-by-step process that how using a foam pattern you finally reach your desired metal shape.
Well! The LFC process is accomplished mainly in 5 steps, let’s have a look at each one by one!
Step 1: Designing the Pattern
First of all, you’ll prepare your foam pattern ( usually made of expanded polystyrene ) to help you make your desired shape. Alright! You can make this pattern in different ways depending on the type of product. For instance, for small-scale production, factories mostly hand-cut or machine the pattern from solid-black foam.
On the other hand, in large-scale production, factories mostly inject the polystyrene beads into the pre-heated aluminum mold, usually at low pressure. Later on, the application of steam helped the beads expand and fuse together.
The amazing thing is that the final foam pattern is about 97.5% air and 2.5% polystyrene, thus making it lightweight and easy to handle.
lost foam casting foam pattern
Step 2: Applying Insulation Painting
Once the foam pattern is ready, you’ll coat it with the insulation or refractory paint. That’s very crucial because the foam pattern is very fragile; thus, this coating would add a thin shell, helping to control how the foam would evaporize when hot molten metal is poured.
| Types of coatings | Main Ingredients | Suitable metals | Benefits |
| Zircon-based coating | Zircon (ZrSiO₄) powder + water/alcohol binder | Steel, Cast Iron | Excellent heat resistance and smooth surface finish. |
| Alumina-based coating | Aluminum oxide (Al₂O₃) | Ferrous Alloys | Provides superior thermal stability & prevents metal penetration into sand |
| Silica-based coating | Silica (SiO₂) | Aluminum, Non-ferrous Alloys | Economical option; offers good insulation |
| Magnesium silicate or graphite-based coating | Talc, graphite, or other minerals | Aluminum, Magnesium, Light Alloys | Improves gas permeability |
Step 3: Placing the Pattern into the Sand Flask
After this, the coated pattern is placed inside the sand flask ( filled with dried sand). This would also support the foam, so that it may maintain its shape.

Step 4: Pouring the Molten Metal
Now, you’ll pour the hot molten metal directly on the foam pattern. Here, the heat of the metal vaporizes the foam and eventually the metal takes its shape.
Step 5: Collecting the Castings
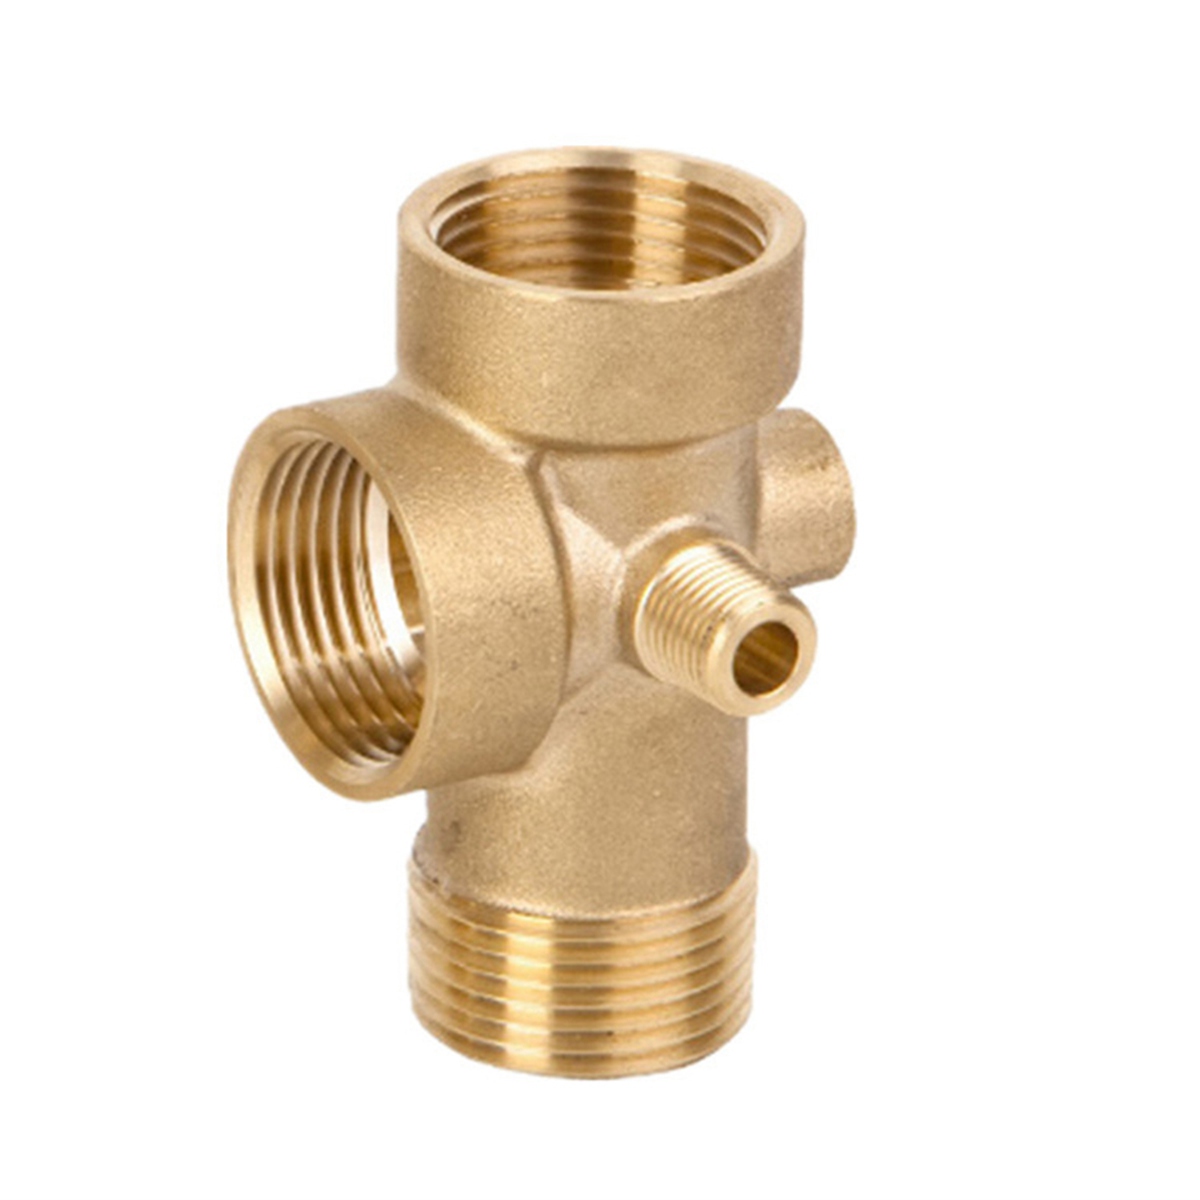
Finally, you’ll allow the mold to cool and then collect the final metal casting product. It is then cleaned, trimmed, and inspected for accuracy, leaving a smooth, detailed metal part with minimal machining required.