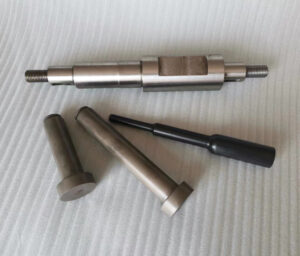
A tensile test, also known as a tension test, is a fundamental mechanical test used to determine the behavior of a material under an axial stretching load. It is one of the most widely used tests for metals, providing key data for engineering design, quality control, and material selection.
The process can be broken down into four main stages: 1. Preparation, 2. Setup, 3. Testing, and 4. Data Analysis.
1. Specimen Preparation
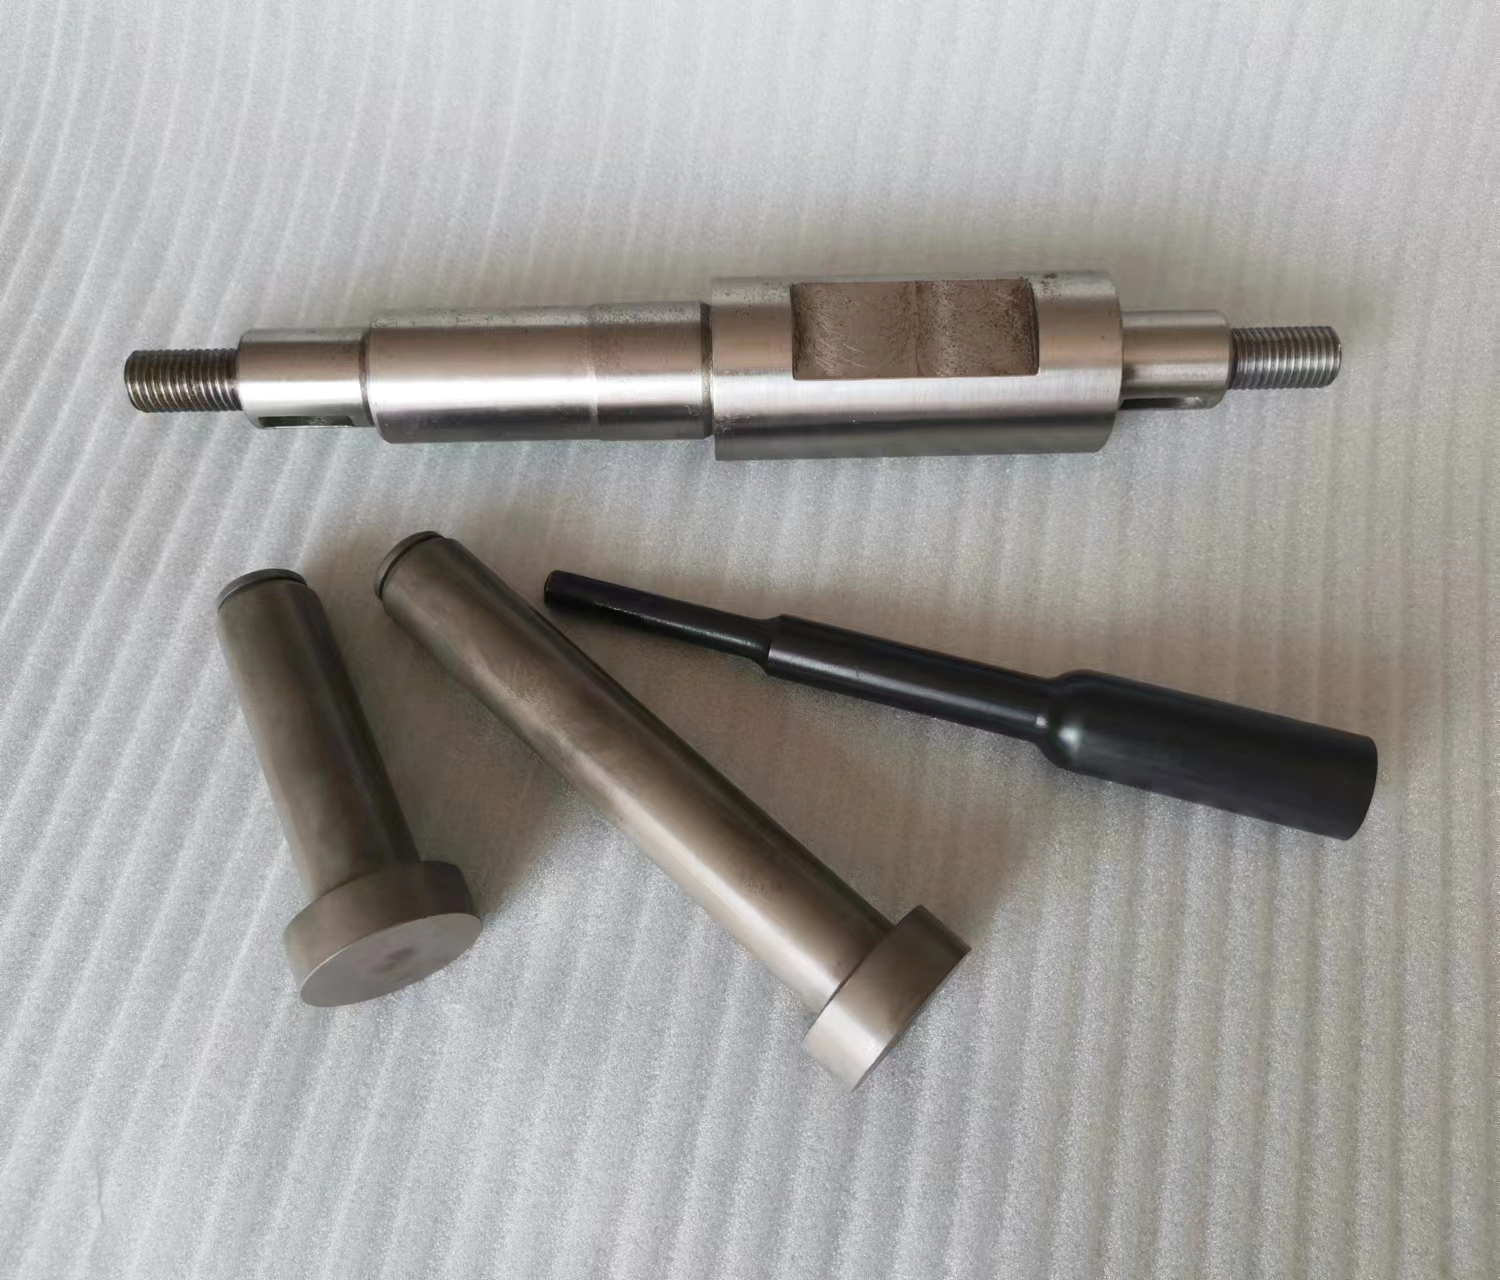
The first step is to prepare a standardized test specimen. The geometry is crucial for obtaining reproducible and comparable results. The most common shapes are round (solid cylindrical bar with threaded ends) and flat (dog-bone or dumbbell shape).
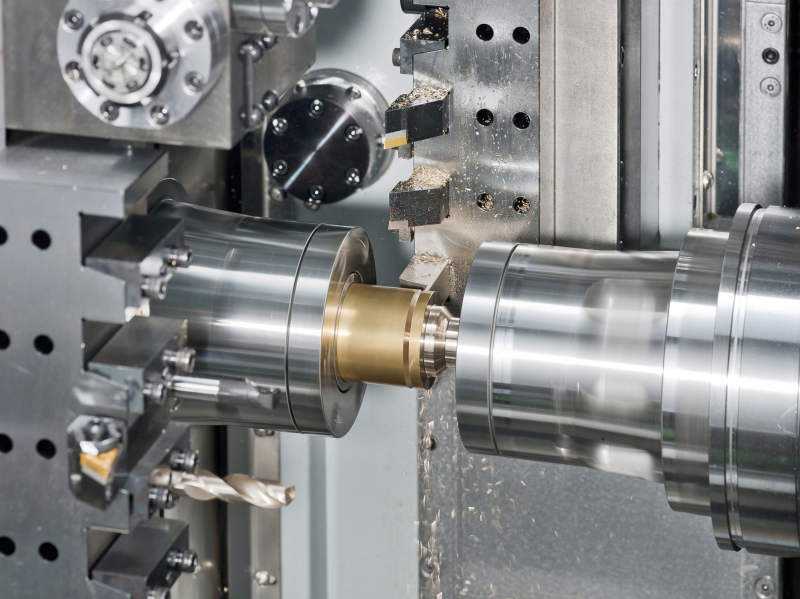
Standardization: Specimens are machined according to international standards like ASTM E8/E8M (common in the US) or ISO 6892-1 (common internationally). These standards dictate the precise dimensions, including the gauge length (the central, narrower section where deformation is measured) and the cross-sectional area.
Material State: The specimen should represent the material’s condition (e.g., as-cast, heat-treated, cold-worked) that is relevant to its application.
2. Test Setup
The prepared specimen is then mounted into a tensile testing machine, also known as a universal testing machine (UTM).
The Machine: A UTM consists of two main parts:
Load Frame: A sturdy frame that houses a movable crosshead.
Actuation System: This can be hydraulic or, more commonly now, electromechanical (using a motor and screw drives) to move the crosshead.
Grips: The specimen is secured at its ends using specialized grips (e.g., wedge grips, threaded holders) that tightly clamp onto it. One set of grips is attached to the moving crosshead, and the other is attached to a stationary base or a load cell.
Load Cell: This is a precision sensor located in the load path that measures the force (load) applied to the specimen throughout the test.
Extensometer: This is a critical instrument clamped onto the gauge length of the specimen. It directly and accurately measures the elongation (strain) of the specimen as the load is applied. For high-accuracy tests, it is indispensable.
3. Conducting the Test
Once the specimen is secured and the instruments are zeroed, the test begins.
Application of Load: The crosshead moves at a constant, controlled speed (as per the standard), pulling the specimen apart axially. This applies a uniaxial tensile force.
Data Acquisition: The load cell continuously records the applied force, and the extensometer records the corresponding elongation. This data is sent to a data acquisition system, which plots a Load vs. Extension curve in real-time.
4. Data Analysis and Key Results
The raw Load vs. Extension data is converted into a Engineering Stress-Strain Curve. This conversion allows for the material properties to be determined independently of the specimen’s size.
Engineering Stress (σ): Calculated as the applied load (F) divided by the original cross-sectional area (A₀).
σ = F / A₀
Engineering Strain (ε): Calculated as the change in length (ΔL) divided by the original gauge length (L₀).
The resulting Stress-Strain curve reveals all the fundamental mechanical properties of the metal:
Key Properties Determined from the Curve:
Proportional Limit: The highest stress at which stress is still directly proportional to strain (obeys Hooke’s Law).
Elastic Modulus (Young’s Modulus): The slope of the linear elastic region of the curve. It is a measure of the material’s stiffness. A steeper slope indicates a stiffer material.
Yield Strength: The stress at which the material begins to deform plastically (permanently). Since the onset of yielding is often gradual, an offset method (commonly 0.2%) is used. A line is drawn parallel to the elastic line but offset by 0.2% strain; the stress where this line intersects the curve is the 0.2% Offset Yield Strength.
Ultimate Tensile Strength (UTS): The maximum stress the material can withstand. This is the highest point on the stress-strain curve.
Fracture Strength: The stress at the point of final rupture.
Ductility Measures:
Percent Elongation: ((L_f – L_0) / L_0) * 100%, where L_f is the gauge length after fracture. It indicates how much the material can stretch.
Percent Reduction in Area: ((A_0 – A_f) / A_0) * 100%, where A_f is the cross-sectional area at the point of fracture. This is often a more accurate measure of ductility.
The Test Process in a Nutshell:
Initially, the specimen elongates elastically; if the load is removed, it will return to its original shape.
At the yield point, plastic deformation begins. The specimen will no longer return to its original length.
As stretching continues, the material work hardens (strain hardens), becoming stronger and requiring more load to continue deforming, until the UTS is reached.
After the UTS, the specimen begins to neck—a localized, significant reduction in cross-sectional area.
The test concludes when the specimen fractures into two pieces.
Conclusion
The tensile test is a pillar of materials engineering. The data generated—Yield Strength, UTS, Modulus of Elasticity, and Ductility—are essential parameters used by engineers to:
Ensure materials meet specifications.
Predict how a component will behave under load.
Select the right metal for a given application (e.g., a bridge cable needs high strength, while a car body panel needs good formability/ductility).

